Why Most Digitize Jacket Back Embroidery Designs Fails
Introduction
Let me paint a painful picture you probably know too well. You spent two hours digitizing a cool skull or a giant eagle or maybe your brand logo. You loaded the file into your machine. You hooped a heavy denim jacket back. You hit start. And then disaster happened. The fabric pulled into a wrinkled mess. Gaps appeared between satin columns. Thread broke three times. By the end, you wanted to throw the jacket across the room. I have been there. Most embroiderers have been there. The hard truth is that most people fail when they digitize jacket back embroidery designs. Not because they lack talent. But because jacket backs are a completely different beast than caps or chest logos. Today, I will walk you through every single reason those designs fail and exactly how to fix each one. No textbook language. Just real solutions from someone who has ripped out more jacket stitches than I care to admit.
Why Jacket Backs Fight You Every Step of the Way
Here is the first thing you need to understand. A jacket back is not a flat piece of cotton. It has layers. Denim, canvas, or leather outer shell. Lining inside. Sometimes batting or insulation if it is a winter jacket. That thickness changes everything. Your needle punches through multiple layers. Your thread travels different distances. Your top tension and bobbin tension suddenly stop playing nice. Most beginners treat a jacket back like a big t shirt. That is mistake number one. You cannot use the same settings, the same pull compensation, or the same underlay. The jacket fights back. So you need to digitize like you are preparing for a boxing match, not a picnic.
Too Much Density Will Ruin Your Day
I see this mistake constantly. Someone digitizes a beautiful detailed design with high stitch density. They think more stitches equal better quality. On a jacket back, that is completely wrong. High density means more needle penetrations. More needle penetrations mean more holes in the fabric. More holes mean the fabric loses structural integrity. On a heavy jacket, that leads to perforation tears and puckering that nothing can fix. You need to lower your density by at least twenty percent compared to what you would use on a stable woven fabric. Sparse stitching actually looks better on a jacket because it lets the fabric breathe and move. Trust me on this. Your jacket does not want to be a solid patch of thread. It wants texture and flexibility.
The Underlay Lie That Costs You Hours
Underlay is not optional on jacket backs. But the wrong underlay makes things worse. Many digitizers use a standard edge run underlay followed by a zigzag. That works fine for stable fabrics. On a thick jacket, that light underlay lets the top stitches sink into the fabric texture. Suddenly your crisp letters look fuzzy and your sharp points round over. You need a heavier underlay for jacket backs. I use a double zigzag underlay at a wider width and slightly longer stitch length. This creates a solid foundation that lifts the top stitches above the fabric grain. Some digitizers even use a tatami underlay for very large designs. It takes more time to digitize. But it saves you from a failed stitch out every single time.
Pull Compensation That No One Talks About
Pull compensation is where jacket back digitizing separates the pros from the frustrated. Here is what happens. Your needle punches through thick fabric and drags the thread horizontally. That drag pulls the fabric inward toward the center of the design. Your perfect circle stitches out as an oval. Your straight letters curve inward. Standard pull compensation of 0.3 to 0.5 millimeters will not cut it on a jacket back. I push pull compensation to 0.8 or even 1.0 millimeters on heavy jackets. That sounds extreme. But watch what happens. Your design stitches out exactly how you drew it because you pre compensated for the fabric pull. Most beginners skip this step entirely and then wonder why everything looks squished.
Hopping and Stabilizer Choices That Make or Break You
Let me be blunt. You cannot hoop a jacket back the same way you hoop a flat fabric piece. Jackets have seams, zippers, and lining that shift independently. Floating the jacket with temporary spray adhesive and a large hoop works better than traditional hooping. But even that fails if you use the wrong stabilizer. Many people grab a medium weight cutaway and call it good. That is a disaster waiting to happen. You need a heavy weight cutaway stabilizer for jacket backs. Some professionals double layer a medium cutaway with a fusible woven stabilizer attached directly to the jacket fabric. Yes, that costs more. But compare that cost to ruining a fifty dollar jacket with a failed design. The math makes sense.
Thread Breaks and Needle Nightmares
Thick jackets eat needles for breakfast. I am not exaggerating. A standard 75/11 needle will bend or break within the first five thousand stitches on a heavy denim jacket. You need a 90/14 or even a 100/16 needle designed for heavy fabrics. Titanium coated needles survive longer. You also need to slow your machine down. Maximum speed on a jacket back should be six hundred stitches per minute, not seven hundred or eight hundred. The slower speed gives the needle time to punch through each layer cleanly. Thread type matters too. Polyester thread stretches slightly and handles the flex of a jacket better than rayon. Rayon looks shiny but snaps under pressure. Choose wisely.
Digitizing for Movement and Wear
Here is something most guides ignore. A jacket moves. You walk. You raise your arms. You zip and unzip. Your design needs to move with the garment. Sharp corners and tight angles create stress points where stitches pop over time. I round off every sharp corner slightly on jacket back designs. I also avoid long satin stitches that span more than ten millimeters. Those long spans catch on seatbelts, backpack straps, and car doors. A torn stitch is a failed design, no matter how beautiful it looked fresh off the machine. Think about how the customer will actually wear the jacket. Digitize for real life, not for a display case.
Splitting Large Designs Without Visible Seams
Sometimes a jacket back design is simply too large for your hoop. You need to split it into multiple stitch outs. Most people split randomly and end up with visible overlap lines or gaps. That looks unprofessional. The trick is to split along natural design lines. Split at color changes. Split under lettering. Split through areas where texture differences hide the seam. Also, always add a small registration mark like a tiny crosshair at the split points. Stitch that mark first, realign your hoop, and your split design will line up perfectly. Without registration marks, you are guessing. And guessing leads to failure every time.
Conclusion
Most digitize jacket back embroidery designs fail for predictable reasons. Too much density. Wrong underlay. Weak pull compensation. Bad stabilizer choices. Wrong needles and speeds. Ignoring how jackets move in real life. The good news is that every single one of these failures has a fix. Lower your density. Beef up your underlay. Crank your pull compensation higher than you think. Use heavy cutaway stabilizer and titanium needles. Slow down your machine. Split designs along smart lines with registration marks. Follow these rules and your next jacket back will stitch out clean, crisp, and professional. More importantly, it will survive actual wear. No more ripped stitches. No more puckered fabric. No more throwing jackets across the room. You now know exactly why most people fail and exactly how to be the one who succeeds. Go digitize something awesome.
Related Posts

SEO Tyler TX: Helping Local Businesses Shine in the Digital Landscape
Tyler, Texas is a city known for its vibrant small business community, strong local culture, and steady economic growth. From family-owned shops to expanding service companies, businesses in Tyler rely heavily on local customers. But in the digital age, being known in the neighborhood is no longer enough. To truly grow, companies must also be easy to find onlin
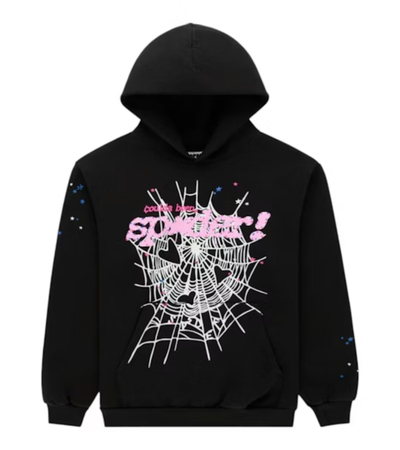
Sp5der Hoodie Everything You Need to Know Before Buying
The sp5der hoodie has quickly become one of the most recognizable and in-demand pieces in modern streetwear. Over the past few years, fashion has shifted from simple, minimal designs to bold, expressive clothing that reflects personality and culture. Sp5der hoodies fit perfectly into this trend with their oversized silhouettes, eye-catching spider web graphics,
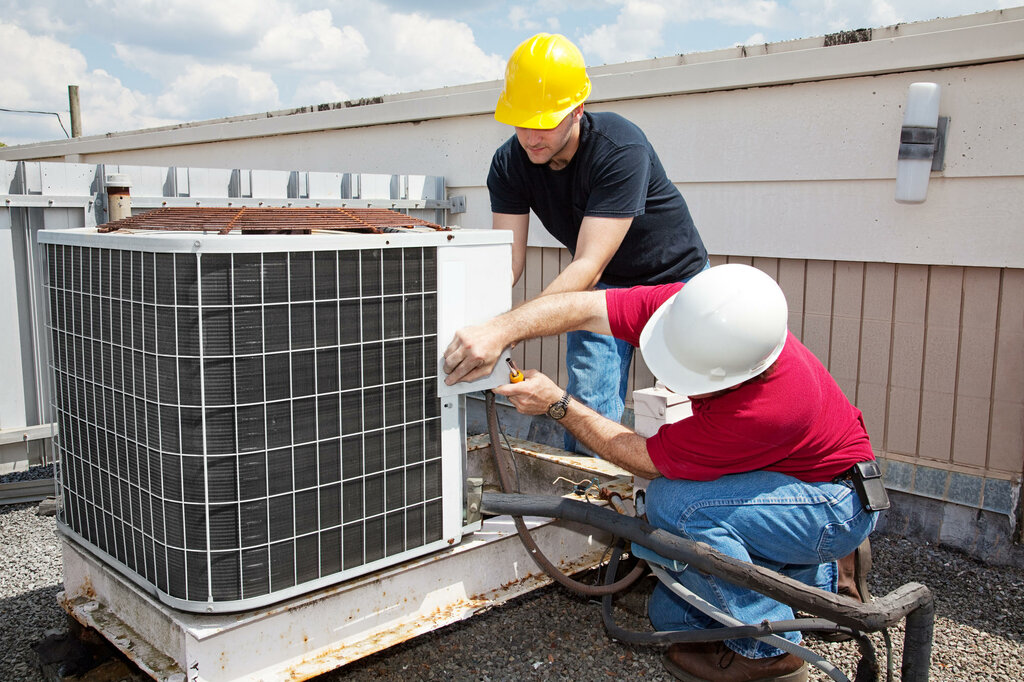
Comprehensive HVAC Services for Optimal Home Climate
Maintaining a comfortable indoor environment is essential for any home or business. Whether it’s hot summer days or chilly winter nights, a properly working HVAC system keeps your space safe and enjoyable. Hiring Affordable HVAC Contractors Coconut Grove ensures your heating and cooling systems are installed, maintained, and repaired professionally without ov
Qu’est-ce que la RandM Tornado 7000 Zero Nicotine ? Tout ce que vous devez savoir
Découvrez le RandM Tornado 7000 Zero Nicotine avec une saveur lisse, 7000 puffs et une utilisation facile pour une expérience de vape satisfaisante.
Leave a Reply