
Convert Logo to PXF File Format from JPG, PNG, or Vector Files
You have a logo that needs to become embroidery. Maybe it’s a JPG from a client, a PNG from your website, or a vector file from your graphic designer. Your workflow uses Pulse software, and you need a PXF file. This format is the master key to editable, production-ready embroidery designs. Whether you’re starting with a simple image or clean vector art, understanding how to Convert Logo to PXF File Format from JPG, PNG, or Vector Files unlocks professional-level control over your embroidery projects.
PXF (Pulse XML Format) is a powerful editable embroidery format used primarily with Pulse software and Tajima DG/ML by Pulse . Unlike machine-ready formats like DST that contain only stitch data, PXF files store all the intelligence of your design. Objects, stitch types, densities, underlay settings, pull compensation values, everything remains editable and adjustable. This makes PXF invaluable for professional digitizers who need to refine their work.
Let me walk you through everything you need to know to create PXF files from your source artwork.
Understanding PXF Files
Before we dive into conversion methods, you need to understand what PXF files actually are and why they matter for professional embroidery workflows.
PXF is a master format. It contains object-based design data, not just flattened stitches. Each element of your logo exists as a separate object with its own properties. You can open a PXF file later and change a satin stitch to a fill, adjust density, modify colors, or resize elements, and the software regenerates stitches automatically.
PXF is not a machine format. You cannot load a PXF file directly onto most embroidery machines. It is for design and editing. You create in PXF, then export to DST, PES, or other machine formats for stitching.
PXF works with Pulse software. Tajima DG/ML by Pulse is the primary tool for PXF creation and editing. Other programs may import PXF with limitations, but the Pulse ecosystem is where PXF truly shines.
What PXF contains:
- Object-based design elements (each shape is separate)
- Stitch type assignments (satin, fill, running as properties)
- Stitch angles and densities
- Underlay settings
- Pull compensation values
- Thread color information
- Full editability
Why PXF Matters for Professional Digitizing
PXF files are the professional’s choice for several compelling reasons.
Editability. Once you have a PXF master file, you can adapt your logo for any application. Need a larger size for a jacket back? Open the PXF, resize properly, and export a new machine file. Need different density for a different fabric? Adjust in minutes.
Design intelligence. PXF preserves all the decisions made during digitizing. Stitch angles, underlay patterns, pull compensation values, everything stays editable. This is invaluable for refining designs and maintaining consistency.
Collaboration. If you work with other digitizers using Pulse software, PXF allows full design exchange. You can share editable files, not just flattened machine formats.
Future-proofing. Formats change, but PXF masters ensure you can always adapt your designs to new machines, fabrics, or applications.
Source Formats and Their Challenges
Different source formats present different challenges when converting to PXF.
JPG and PNG are raster images made of pixels. They show what the logo looks like but contain no stitch information. Converting them to PXF requires digitizing, which interprets the pixels and creates embroidery objects. High-resolution images (300 DPI minimum at final size) produce better results.
Vector files like AI, EPS, PDF, and SVG contain mathematical paths. These are much easier to convert because the existing paths can serve as the basis for embroidery objects. Clean vectors produce cleaner PXF files with less manual cleanup required.
Other embroidery formats like DST, PES, or EXP contain stitch data but not object information. Converting them to PXF creates a file with stitches, not true objects. You can edit it, but it is like editing a photocopy instead of the original negative.
Method 1: Professional Digitizing Services (Easiest Path)
For most users, professional digitizing services offer the fastest, most reliable path to PXF files. Companies like Absolute Digitizing, Digitizing Buddy, Cool Embroidery Design, and Absolute Digitizer have experience with Pulse software and can deliver PXF files from any source.
How it works:
- You upload your logo (JPG, PNG, AI, EPS, etc.) to their website
- You specify that you need a PXF file for Pulse software
- You provide the desired size and fabric type
- A professional digitizer manually creates your design using Pulse or compatible software
- They save the master file as PXF
- You receive your editable PXF file, usually within 2 to 24 hours
Why this method works: Professional digitizers understand PXF’s object-based structure. They create clean objects with proper stitch assignments, underlay settings, and compensation values. You get an editable master file you can use for years.
Prices start around $10-15 for simple designs.
Method 2: Tajima DG/ML by Pulse Software (Native Solution)
If you digitize frequently and own Pulse software, Tajima DG/ML by Pulse is the native solution for creating PXF files.
How to convert in Pulse:
- Import your image or vector file
- Use auto-digitizing for quick conversion or manual tools for complete control
- Create objects by tracing or auto-tracing
- Assign stitch types to each object
- Set stitch angles, densities, and underlay
- Apply pull compensation
- Save your master file as PXF
Advantages: Native compatibility guaranteed. Designed specifically for Pulse workflow. Complete control over every object and parameter.
Disadvantages: Significant software cost and learning curve. Professional-grade tool for frequent digitizers.
Method 3: Third-Party Software with PXF Support
Several third-party programs support PXF import and export, offering alternatives for users not in the Pulse ecosystem.
Wilcom Embroidery Studio can import PXF files and export to other formats . It is a professional alternative for shops using Wilcom.
Hatch Embroidery offers PXF import/export capabilities for users in the Wilcom ecosystem . It provides professional tools at a more accessible price point.
Embrilliance with appropriate modules can handle PXF for basic editing and conversion, though functionality may be limited compared to native Pulse software.
Ink/Stitch is a free, open-source extension for Inkscape that supports various embroidery formats. While it does not directly support PXF, it can work with SVG and other formats that can be converted.
Method 4: Converting from Other Formats to PXF
Sometimes you already have your logo in another embroidery format like DST or PES and want to convert it to PXF for editing.
Important reality check: Converting a machine file to PXF does not create true object data. The software interprets the stitches and attempts to reconstruct objects, but the result is not as clean as original digitizing. You can edit it, but it is working with reconstructed data rather than the original design intelligence.
How to convert using Pulse:
- Open your DST, PES, or other machine file in Pulse
- Use the software’s conversion tools to interpret stitches as objects
- The software attempts to reconstruct objects based on stitch patterns
- Save as PXF
- Edit as needed
When this works best: For simple designs with clean stitch paths. For complex designs, starting from scratch with vector artwork yields better results.
Step-by-Step: Converting JPG to PXF in Professional Software
Let’s walk through a typical workflow using Pulse or similar software.
Step 1: Prepare Your Image
Start with the highest resolution JPG available. At least 300 DPI at your final size. Clean up the image, remove backgrounds, simplify colors.
Step 2: Import into Software
Open your Pulse software and import the image as a reference layer. Lock it so you do not accidentally move it.
Step 3: Create Objects
Use the drawing tools to trace each element of your logo. Create separate objects for each shape, color, and element. This object-based approach is what makes PXF powerful.
Step 4: Assign Stitch Types
For each object, assign the appropriate stitch type:
- Satin stitches for borders, text, and narrow columns
- Fill stitches for large solid areas
- Running stitches for fine lines and underlay
Step 5: Set Parameters
Adjust stitch angles, densities, and underlay for each object based on your fabric. Apply pull compensation for accurate sizing.
Step 6: Optimize Path
Arrange objects in logical order. Group similar colors together. Minimize trims and jumps.
Step 7: Save as PXF
Save your master file in PXF format. This is your editable original.
Step 8: Export for Production
When ready to stitch, export machine-ready formats (DST, PES, etc.) from your PXF master.
Step-by-Step: Converting Vector to PXF
Vector files provide the cleanest path to PXF because the paths already exist.
Step 1: Prepare Your Vector File
Open your AI, EPS, or SVG file. Ensure all text is converted to outlines. Simplify any overly complex paths. Reduce colors to embroidery-friendly numbers.
Step 2: Import into Pulse
Import your vector file into Pulse. The software typically preserves the vector paths as objects.
Step 3: Assign Stitch Types
Select each object and assign the appropriate stitch type. Since the paths are already clean, this step focuses on stitch engineering.
Step 4: Adjust Parameters
Set stitch angles, densities, underlay, and compensation for each object.
Step 5: Optimize and Save
Optimize the stitch path, then save as PXF.
Step-by-Step: Converting PNG to PXF
PNG files are raster images like JPG but often have transparent backgrounds, which can simplify conversion.
Step 1: Prepare Your PNG
Use a high-resolution PNG with a clean transparent background. This helps the software distinguish design elements from empty space.
Step 2: Import and Trace
Import into Pulse. Use auto-trace tools to create vector paths from the PNG. Clean up the results manually.
Step 3-5: Follow same steps as JPG conversion
Create objects, assign stitch types, set parameters, optimize, and save as PXF.
Common PXF Conversion Mistakes
Mistake 1: Treating PXF as a machine format. PXF is for editing, not stitching. Always export machine formats from your PXF master.
Mistake 2: Not creating true objects. For maximum editability, create separate objects for each element. Avoid merging everything into a single object.
Mistake 3: Forgetting underlay. Underlay settings are stored in PXF files. Set them properly for future edits.
Mistake 4: Ignoring pull compensation. PXF retains compensation values. Set them correctly so exports are accurate.
Mistake 5: Losing master files. Always keep your PXF masters. They are your assets for future modifications.
When to Use Professional Services
Even with great software, some projects benefit from professional help. Complex logos with fine details need expert digitizing. Rush orders with tight deadlines justify outsourcing. For designs you will reuse, investing in professional PXF files gives you editable masters for future projects.
Professional digitizing services like Absolute Digitizing, Digitizing Buddy, Cool Embroidery Design, and Absolute Digitizer can deliver clean, editable PXF files from any source. Prices start around $10-15 per design.
Conclusion
Converting your logo to PXF file format from JPG, PNG, or vector files is the key to professional-level embroidery workflow. PXF files store all the intelligence of your design, letting you edit, modify, and perfect your work before exporting machine-ready files.
Professional digitizing services offer the easiest path, delivering clean PXF files from any source in hours. For those who digitize frequently, Tajima DG/ML by Pulse provides native tools for PXF creation and editing. Third-party options like Wilcom and Hatch offer alternatives with different price points and features.
Remember the golden rule: PXF for editing, machine formats for stitching. Keep your PXF masters safe. When you need to adapt a design for a new fabric, size, or application, you will be glad you have them.
Whether you choose professional services or the DIY path, properly created PXF files ensure your embroidery workflow flows smoothly from concept to finished product, project after project.
Related Posts

Solar System Price in Pakistan 2026 – Latest Cost & Packages | Alpha Solar
With rising electricity bills and increasing load shedding in Pakistan, solar energy has become one of the most reliable and cost-effective solutions. Understanding the solar system price in Pakistan (2026) helps you choose the right system according to your energy needs and budget. Alpha Solar provides complete solar solutions, including panels, inverter, stru
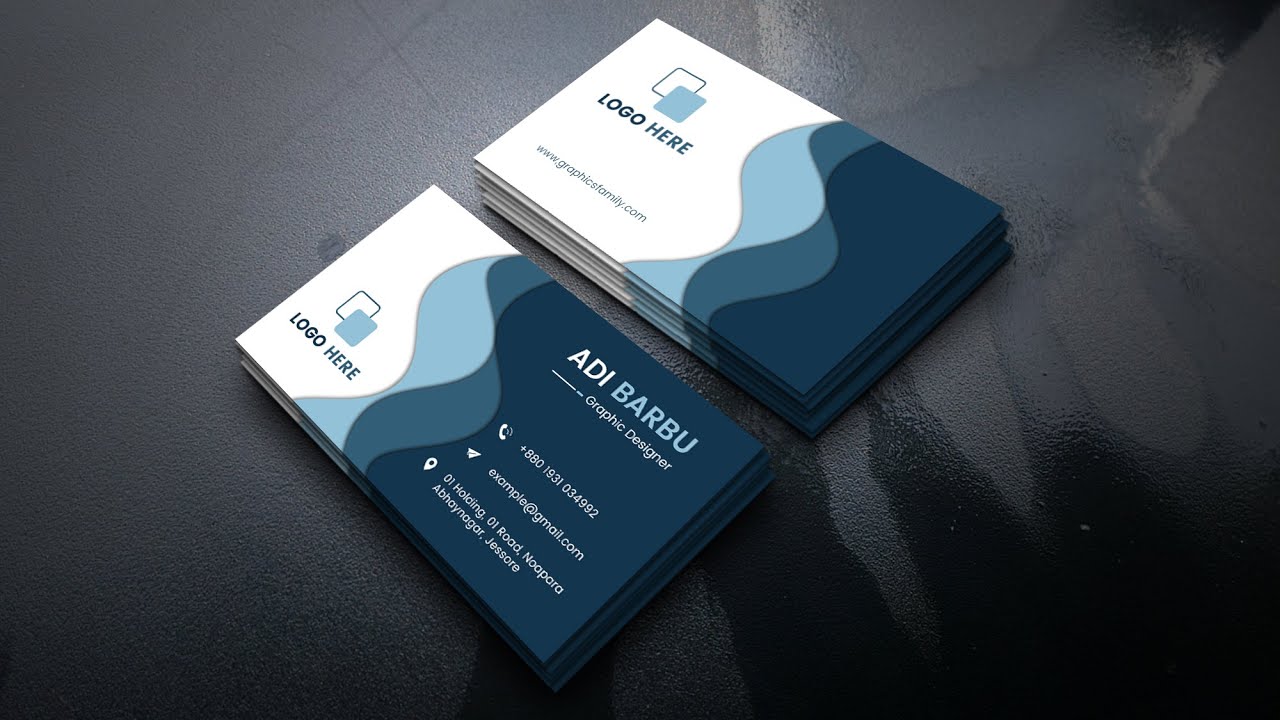
Premium Custom Business Card Boxes for Brand Impact
Personalized business card boxes constitute a vital component that suits people who believe in presentation and organization as part of their branding approach. The business card is the initial impression,n and there are high chances that the way it is stored or presented may have a great influence on the perception. Whether you are a startup, an entrepreneur,
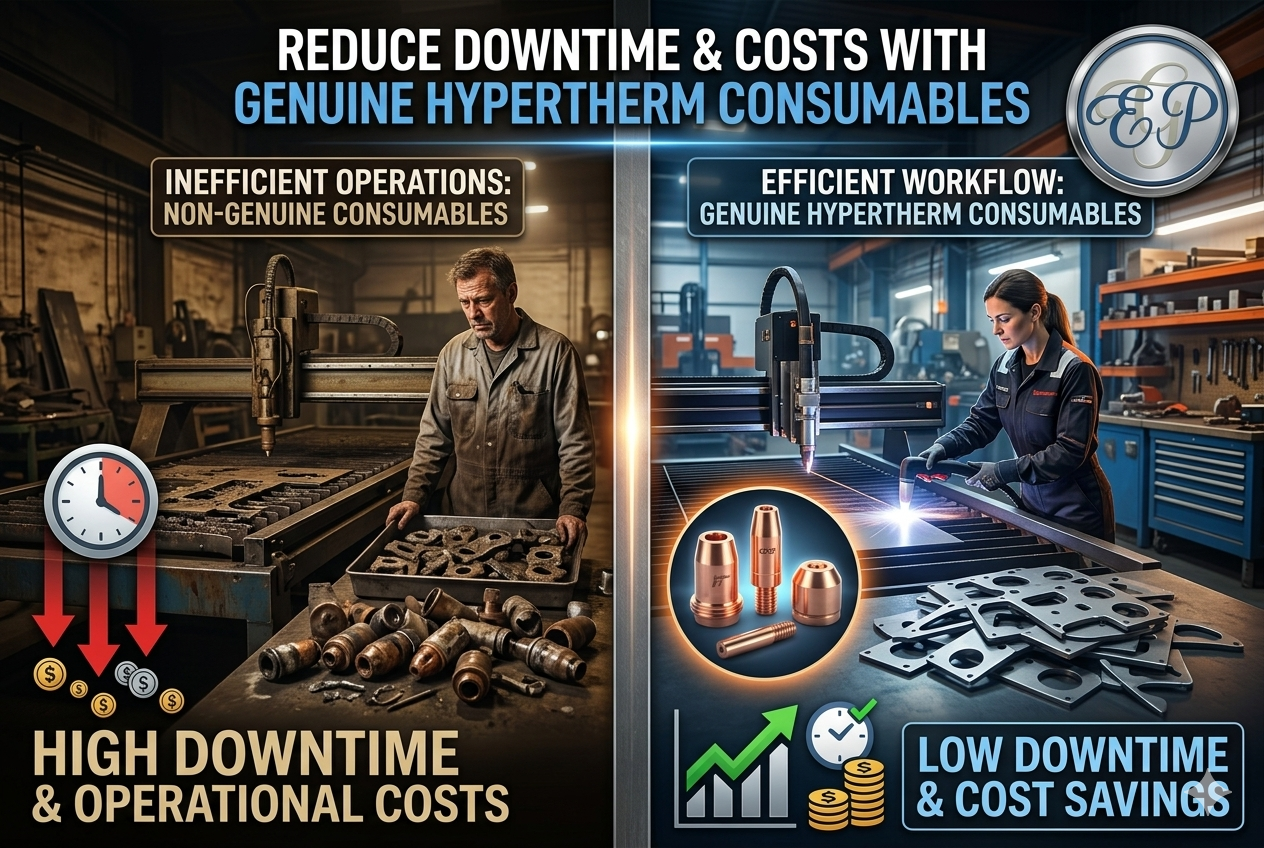
Reduce Downtime & Costs with Genuine Hypertherm Consumables
In the world of plasma cutting, downtime is more than just an inconvenience—it’s a direct hit to productivity and profits. Every minute your machine is idle, you’re losing time, money, and opportunities. At the same time, rising operational costs make it essential to optimize every aspect of your cutting process. One of the most effective yet often overlo
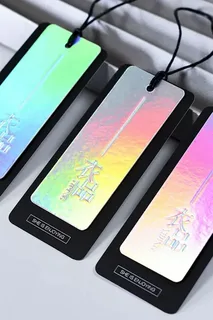
Premium Packaging Solutions Using Custom Holographic Tags for Retail
Companies that want their products to be on a new level of visual presentation resort to Custom Holographic Tags. These labels augment brand awareness, create a sense of high quality, and appeal at first sight to customers. These solutions are invaluable in packaging and product marketing for firms that are interested in making differentiations in the competiti
Leave a Reply